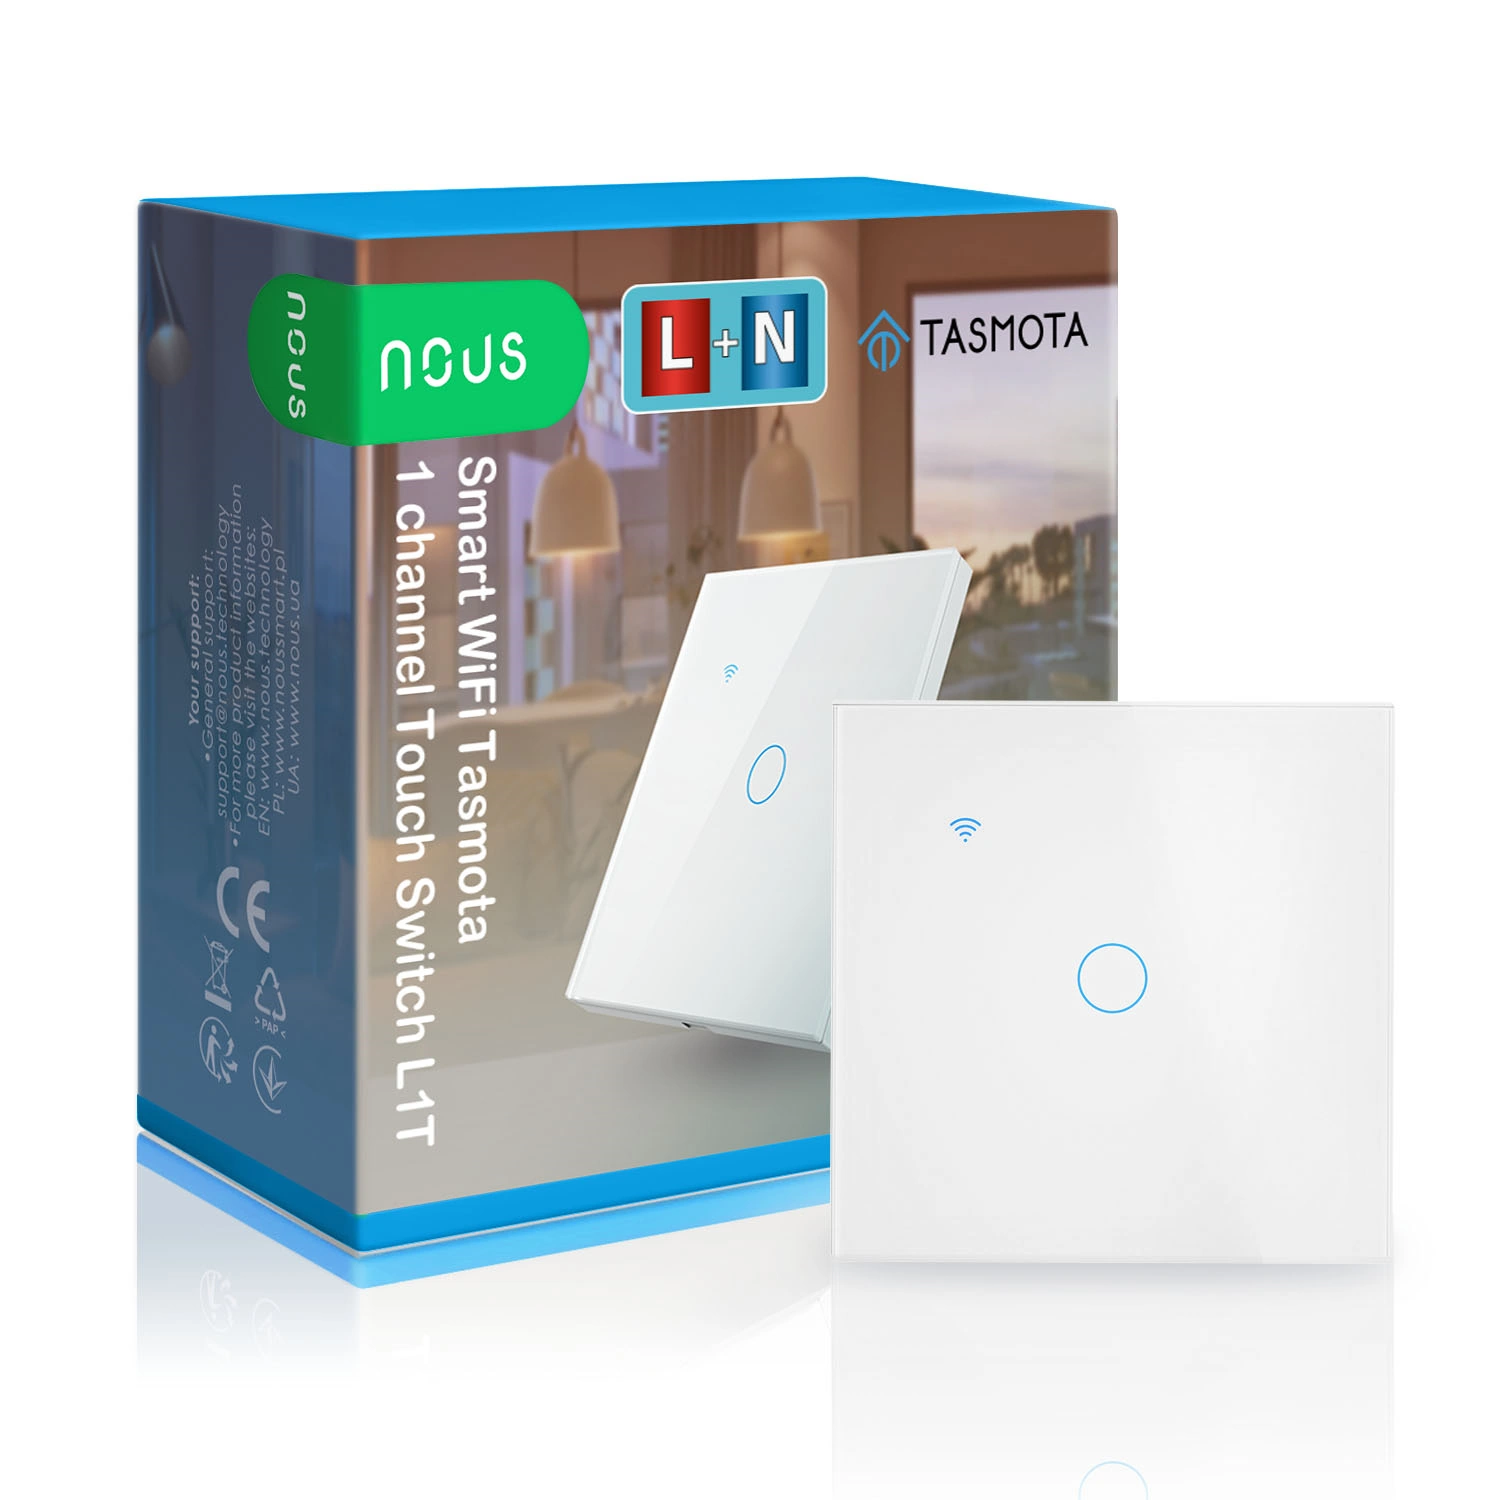
Nous L1T
An example of how to integrate a Nous 1 Channel Touch Swith Module (L1T) into Home Assistant using ESPHome.
The device comes with Tasmota installed, but can be reflashed to ESPHome

GPIO Pinout
After tests, the pinout has been corrected from what is shown in the manual (GPIOs for button led and link/status led are swapped in my device)
| Pin | Function |
|---|---|
| GPIO00 | Led Link |
| GPIO01 | None |
| GPIO02 | None |
| GPIO03 | Button 1 |
| GPIO04 | None |
| GPIO05 | None |
| GPIO09 | None |
| GPIO10 | None |
| GPIO12 | None |
| GPIO13 | Relay1 |
| GPIO14 | Led Button |
| GPIO15 | None |
| GPIO16 | None |
Basic Configuration
esphome:
  on_boot:
    then:
      - if:
          condition:
            lambda: "return id(light_1).current_values.is_on();"
          then:
            - light.turn_off:
                id: button_led
          else:
            - light.turn_on:
                id: button_led

esp8266:
  board: esp01_1m

binary_sensor:
  - platform: gpio
    pin:
      number: GPIO3
      mode:
        input: true
        pullup: true
      inverted: true
    id: button_1
    on_click:
      then:
        - light.toggle: light_1

  - platform: status
    name: "T1 Status"

output:
  - platform: gpio
    pin: GPIO13
    id: relay_1
  - platform: esp8266_pwm
    pin: GPIO14
    id: button_led_output
    inverted: yes

light:
  - platform: binary
    id: light_1
    output: relay_1
    on_turn_on:
      - light.turn_off: button_led

    on_turn_off:
      - light.turn_on: button_led

  - platform: monochromatic
    id: button_led
    output: button_led_output

status_led:
  pin:
    number: GPIO0
    inverted: yes